Blog
Your Node, Your Rules - From Wallet to Full Bitcoin Sovereignty
There is a specific moment when the Bitcoin blockchain finishes syncing on hardware you own.
No API key. No third-party server. No quiet dependency you’re pretending not to think about. Just you, the full ledger, and a small machine in the corner doing the verification itself.
That feeling has a name: sovereignty.
And once you feel it, it becomes very hard to go back to the default setup where your wallet quietly asks someone else’s infrastructure what is true.
This is the story of why I built my own node, what it actually took, and what changed once I did.
What a Bitcoin Node Actually Does
Most people who use Bitcoin are doing it through a node they do not control.
Your mobile wallet? It is probably querying someone else’s server to check your balance. Your portfolio tracker? Same story. Even many “non-custodial” wallets quietly phone home to third-party infrastructure. That server learns your addresses, your balance history, your transaction timing. This is not some edge case. It is the default.
A Bitcoin node independently validates every transaction and block against the protocol rules. It does not trust anyone else’s interpretation of the chain. It checks for itself.
When your wallet connects to your own node instead of a public one, a few things change:
- Your address information never leaves your network
- You verify transactions against your own copy of the blockchain
- You are not dependent on any service staying online or staying honest
- You can query the chain directly: transaction history, UTXO sets, mempool state
The network also benefits a little. Every node strengthens decentralization. Running one is a small contribution to the infrastructure that lets Bitcoin function without a central authority. It is not obligatory, but I do think it matters.
Why I Built One
My use case is pretty specific. I run read-only wallet descriptors on the node to track wallet movements in real time. Every incoming and outgoing transaction triggers an alert delivered to Signal: amount, counterpart address, direction. No app, no third-party notification service, no privacy leak. Just my node watching the chain and telling me what changed.
I also use it for transaction analysis. When I want to inspect a transaction, inputs, outputs, fee rate, UTXO origin, I query my own node directly from the terminal. It is not as visual as a browser-based mempool explorer, but it is accurate, private, and always there.
Beyond the technical side, there is something grounding about having the whole blockchain locally. Every block since genesis. Independently verified. On hardware you can hold in your hand. It changes how Bitcoin feels. Less like “an asset I own,” more like “a system I participate in.”
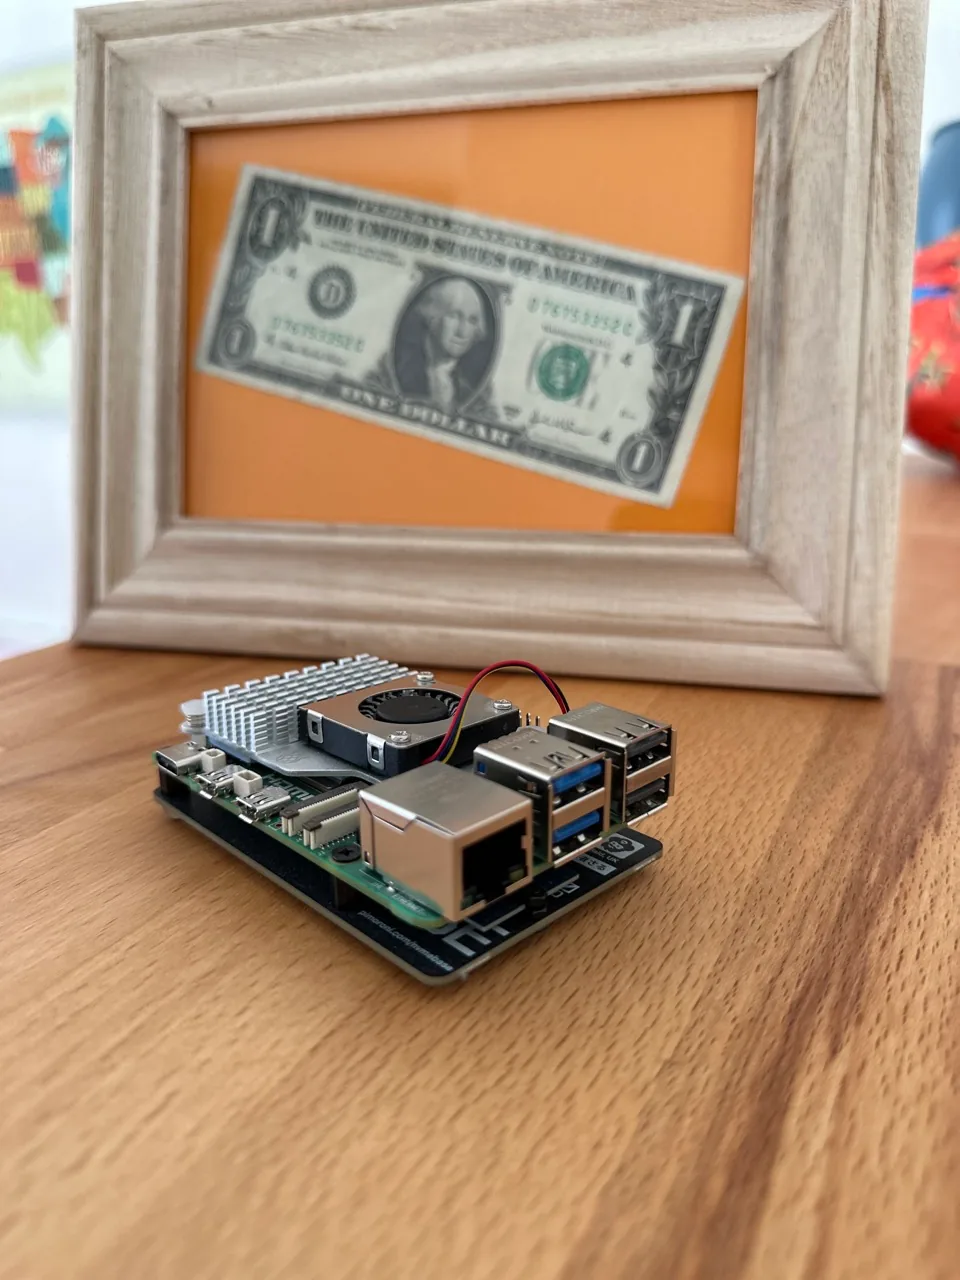
Raspberry Pi 5 serving as BTC node.
What You Actually Need to Build One
The hardware side is simpler than people assume.
My build is a Raspberry Pi 5 with 4GB of RAM, a 2TB NVMe SSD mounted via a dedicated NVMe base board, the official active cooler, and the official power supply. The blockchain currently uses roughly half of that storage, with room to grow for several more years. The machine is small, quiet, draws minimal power, and looks like nothing. No one glancing at your desk would guess it’s running financial infrastructure. That’s a feature, not a coincidence.
The total landed cost was around 200 CHF for the full custom build — board, NVMe drive, NVMe base, active cooling, and power supply included. No shortcuts.
One non-obvious hardware note: connect it via LAN, not Wi-Fi. A node syncing the full blockchain and serving wallet queries is a sustained workload. Wi-Fi adds latency, occasional dropouts, and interference you just do not want on infrastructure you rely on. A direct Ethernet connection is the baseline, not a nice-to-have.
If you want to go further and run your own mempool visualizer — a self-hosted version of mempool.space, which gives you a full graphical view of the transaction pool — plan for at least 8GB of RAM and additional storage for full transaction indexing. It’s a different hardware class, and I chose not to run it on this machine. Terminal access covers my needs. But if you want the visual layer, factor that into your hardware decision upfront.
One thing worth doing immediately once you have a stable setup: write a backup script. Configurations, wallet descriptors, any scripts you’ve written — back them up somewhere. Hardware dies. The node can be rebuilt from scratch; what’s harder to rebuild is the configuration work you did on top of it.
Choosing the Software
I run the latest stable release of Bitcoin Core. There is an ongoing debate in the Bitcoin community between Core and Bitcoin Knots, which is a fork of Core with additional filtering options — particularly around what transactions are allowed into the mempool. Both are legitimate full node implementations. Both verify the chain to the same consensus rules.
I do not have a strong opinion on which one is better for your use case. Core is the most widely tested implementation with the largest contributor base. Knots is smaller but maintained by a developer with a long track record. Read the debate, form your own view, and pick one. Either way, you are running a full node.
Security: Locking It Down
A node you do not trust is worse than no node. Security here is not optional.
A few principles I applied:
Firewall rules. Only allow the connections you explicitly need. Default-deny is the posture. Every open port is a decision, not an accident.
SSH with key authentication only. No password-based SSH logins. Keys only. This eliminates the most common remote attack vector.
VPN. Inbound access to the node goes through a VPN tunnel. This keeps the node off the public internet without sacrificing remote accessibility.
Tor. Running Bitcoin Core over Tor adds a layer of network-level privacy. It separates your IP address from your node’s peer connections.
Encrypted storage. Wallet descriptors, configurations, and sensitive data live on an encrypted volume. The tradeoff is real: every restart requires manually entering the password to unlock the data. It adds friction. It also means that if the hardware is ever compromised or lost, the data inside is unreadable without the key. That tradeoff is worth it.
No private keys on the node. Ever. This one is non-negotiable. The node is for verification and monitoring. It is not a signing device. Private keys live on hardware wallets. The node never sees them. If the node is somehow compromised, there is nothing to steal.
Hardware wallet integration. I use Sparrow Wallet connected directly to my own node. Sparrow handles the signing interface; the node handles chain data. Everything stays local. No external query. No privacy exposure.
Monitoring: Your Node Tells You What’s Happening
A node you can’t observe is a node you can’t trust.
I run a daily automated status report delivered via Signal. It covers whether the node is up, whether the VPN is active, current disk usage, and the status of the wallets being tracked. It takes a few seconds to read and tells me everything I need to know that morning.
For transactions, every detected movement on a tracked wallet triggers an immediate alert: what moved, which direction, the counterpart address, the amount. It’s a private notification system built on data that never leaves my infrastructure. No third-party service involved.
This real-time awareness is also a practical defense against dust attacks.
A dust attack is when a third party sends a tiny, near-worthless amount of Bitcoin to your address — sometimes a few hundred satoshis. The goal is not to give you money. The goal is to probe your privacy. If you later spend that dust output together with other UTXOs in a transaction, you’ve inadvertently linked those addresses, revealing more about your holdings and patterns than you intended. It’s a surveillance technique, not a theft attempt.
When you receive an alert the moment any transaction hits your wallet, you see the dust arrive in real time. You know it’s there before you do anything with it. That means you can make a deliberate decision: don’t spend it, or handle it in a way that doesn’t compromise your other addresses. Without real-time monitoring, dust can sit unnoticed in your wallet and quietly get swept into a future transaction — doing exactly what the attacker intended.
The notification system doesn’t prevent dust from being sent to you. Nothing can. But it closes the window of ignorance, which is the only part of the attack you can actually control.
This kind of monitoring is not technically complex. A few shell scripts, a Signal-compatible notification client, and a cron job. But it changes how you relate to your Bitcoin setup. You stop hoping everything is fine and start actually knowing what is happening.
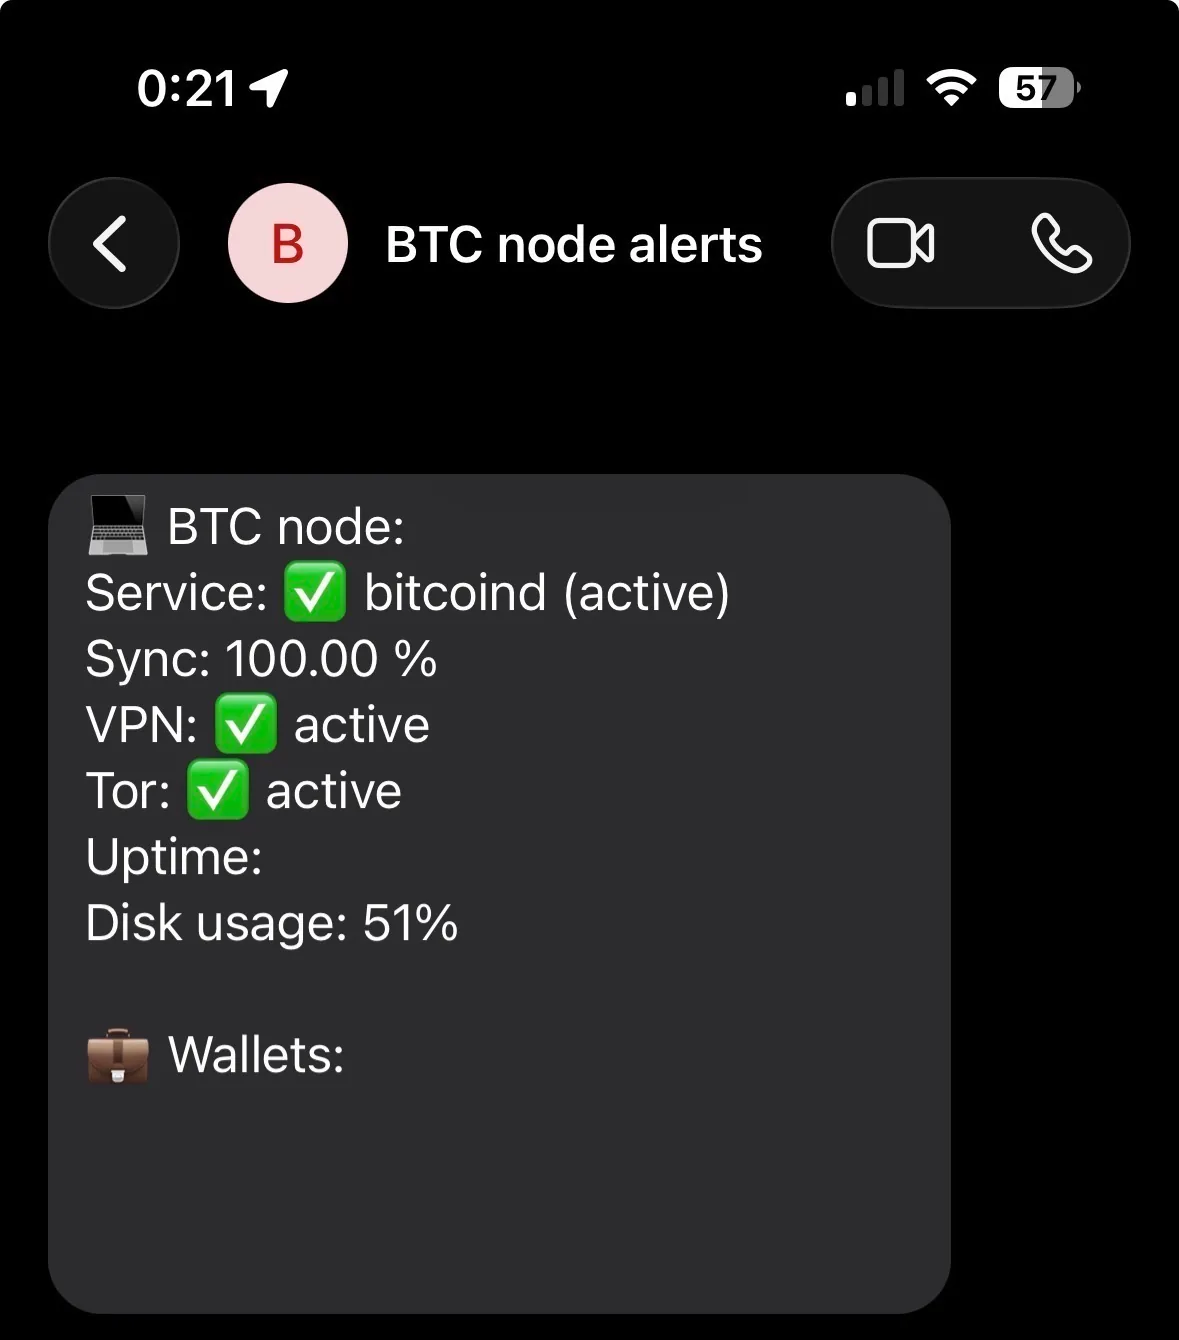
Daily Signal Notification.
What Else You Can Build on Top
Once you have a full node running and the blockchain locally available, you have the raw data for a surprising range of projects.
One example: a Bitcoin block clock. Since your node knows the current block height, block time, and network difficulty in real time, you have everything needed to build a local clock that displays Bitcoin protocol time instead of wall time. I built one myself — and then rebuilt it as something more personal:
https://miro.foremsec.com/blog/from-bitcoin-block-clock-to-freedom-clock/
That is one example. The broader point is that a node makes you a first-class participant in the network, with local access to chain data that most people only touch through someone else’s API.
Alternatives to Building Your Own
If bare-metal assembly isn’t your style, the packaged node software ecosystem has matured significantly:
- Umbrel (https://umbrel.com) — app-store style interface, lowest friction to get started
- RaspiBlitz (https://github.com/raspiblitz/raspiblitz) — more technical, more control, strong community
- MyNode, Start9 — similar category, different tradeoffs
All of these still give you a real Bitcoin node. The tradeoff is you’re running additional software layers on top of Core. For most people, that’s a perfectly reasonable choice. For builders who want full control over every component, bare metal gives you more flexibility.
What You Can Do
If you’re just getting started: Look into Umbrel or RaspiBlitz. Most of the setup complexity is handled. Get the hardware, follow the guide, and let it sync. The main investment is time, not expertise.
If you’re comfortable with a terminal: Build it bare metal. Raspberry Pi 5, 2TB NVMe, Bitcoin Core. Connect your existing wallet software to it. Add simple monitoring. It’s a weekend project that pays ongoing dividends.
If you want the full stack: Add a hardware wallet integration via Sparrow, encrypt your volumes, build out your alert pipeline, and connect everything locally. Once it’s running, add a backup routine and treat it like infrastructure — because it is.
Disclosure
No sponsorships. No affiliate links. Every tool mentioned is something I use directly. Opinions are my own.

Buying Bitcoin is easy. Custody is the problem - From exchange to multisig.
Buying Bitcoin is the easy part. Keeping it safe for years is where things get real. This is how I moved from exchanges to cold storage and eventually to 2-of-3 multisig, and what I learned in the process.

I Got Hacked - Here Is What I Changed and Why I Sleep Better Now
I got hacked and it changed how I think about personal security. This is the framework I built — layered defenses, separated identities, and practical paranoia that works without making daily life unbearable.

The Bitcoin Inheritance Problem - Legal, Technical, and Human
Custody protects your Bitcoin while you’re alive. Inheritance planning protects it after you’re gone. This is how I think about the legal, technical, and very human problem of making sure the right people can actually recover what you built.